Leader Lowdown
Lowdown on Leaders!
Not so many moons ago, when I was a lad, you attached a tapered leader to your fly line using only the nail knot. As secure and seamless as this connection was, it remained a permanent fixture, so you were pretty much stuck with the leader of your choice on your floating line, regardless of what method you might wish to fish.
I can’t quite remember an exact year, but then the revolution came in the form of braided loops and braided tapered leaders of various lengths and better still, sinking densities. These not only allowed use to switch to a leader of a certain length, but also a specific sink rate. In many respects they were a sort of refined sinking tip arrangement that gave us the flexibility to change at will via a loop to loop connection. Some years later the technology of welded loops evolved, making life a lot easier when it came to both attaching fly line to backing and of course, using various tapered leaders.
The old school like myself will be familiar with all this and the developments that occurred. However, to the beginner, the amount of various leaders can seem daunting. So, here are some guidelines to help you get started. I hope you find them useful.
Dry Fly:
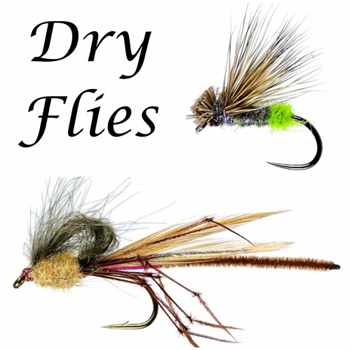
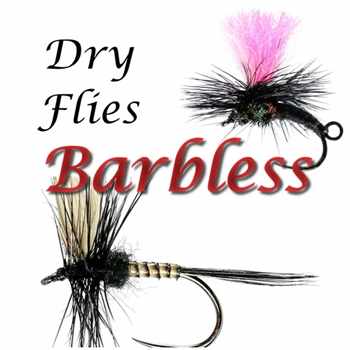
For dry fly fishing, I’m still a fan a of the monofilament tapered leader and in particular those that are copolymer, or nylon in construction. Sure the fluorocarbon types work fine, but they do sink a little more readily, making them ideal for nymphing near the surface (more below).
Diagram 1
As a generalization tapers of between 9ft and 12ft are perfect as you can then add a short length of level monofilament as a tippet section by either the loop to loop connection or arguable better, a tippet ring. Assuming I’m using a 12ft tapered leader, I’ll usually add a 2ft level section of 6lb copolymer for stillwaters, or 4lb breaking strain when fishing rivers (Dia 1). If a breezy hampers turn over then I’ll use a 9ft taper and perhaps 18 inches of level tippet:
Nymphing:
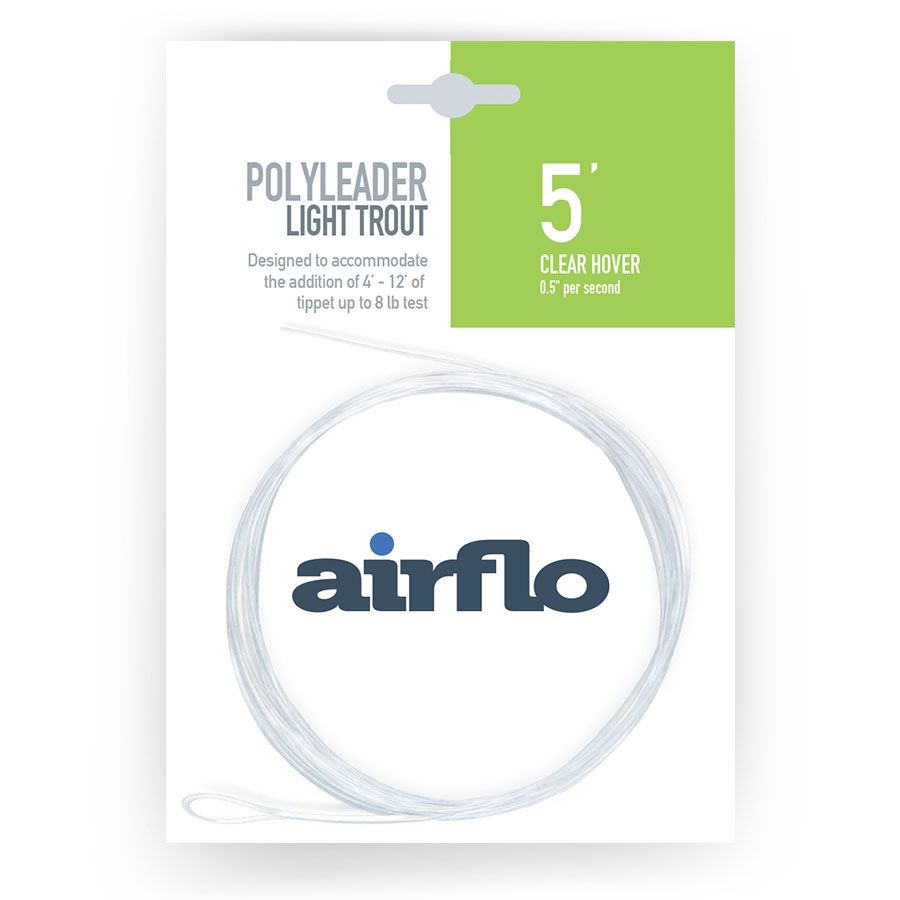
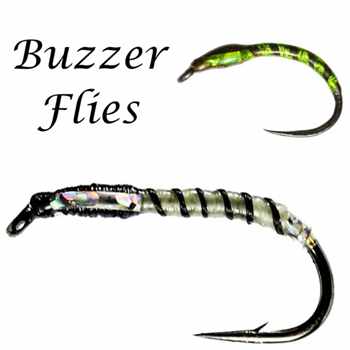
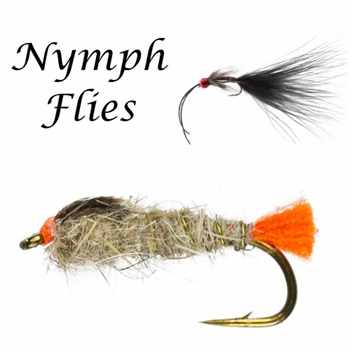
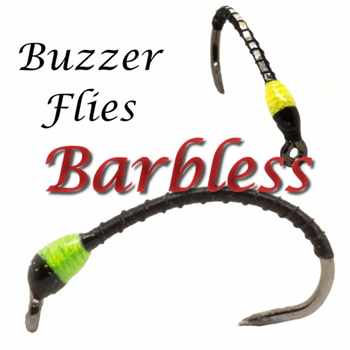
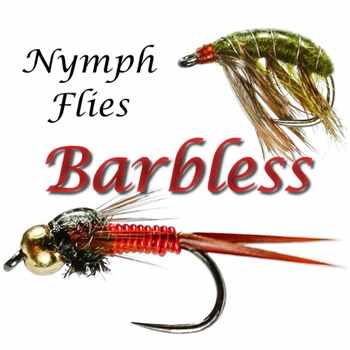
This is where things become a little more complicated. If you’re fishing buzzers near the surface then a fluorocarbon set-up similar to the dry fly arrangement above will be fine. However, if a strong crosswind exists, or you wish to fish your nymphs a little deeper, but still in a controlled manner then the Airflo intermediate, or hover poly-leader of 5ft is perfect.
To this you can attach level fluorocarbon of approx 5-6ft before knotting on a single fly (Dia 2).
Diagram 2
If you prefer to fish two flies then you can arrange a dropper some 3ft from the poly-leader before adding a further 4ft of level mono to the point fly (Dia 3). If you wish to fish the flies a little deeper then try using one of the Airflo poly-leaders of 8ft in length.
Wet Fly:
Diagram 3
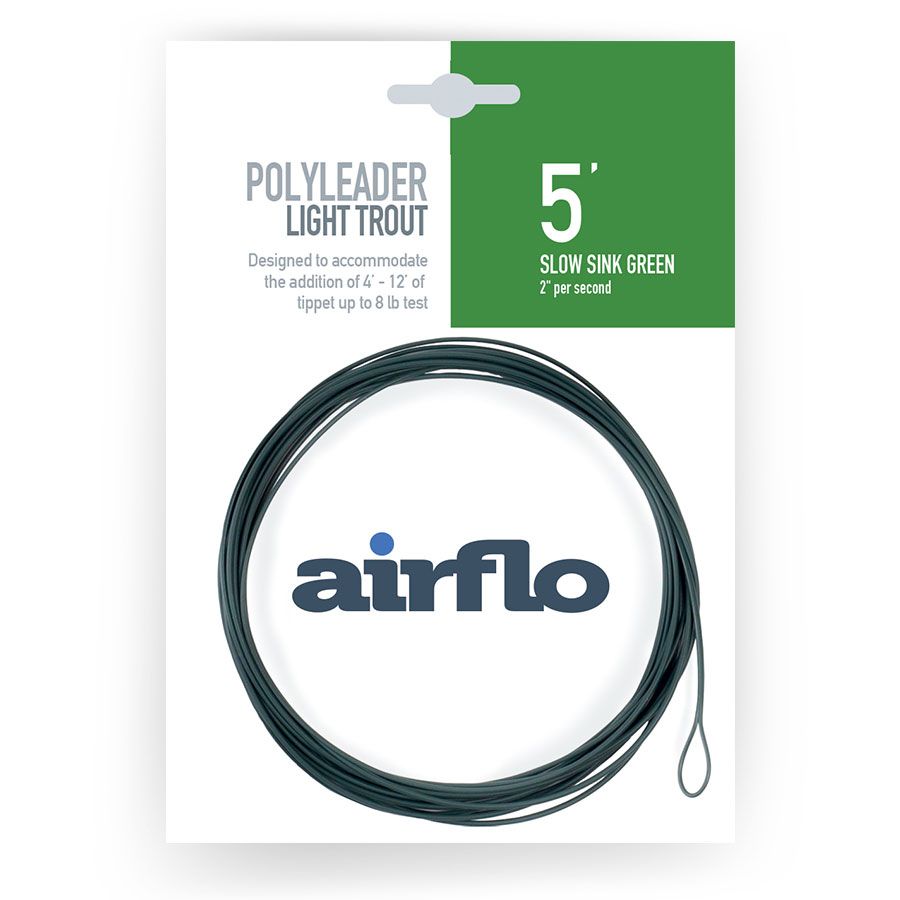
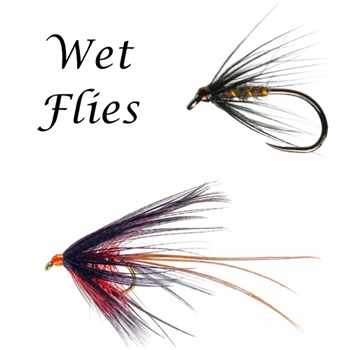
Typically, we fish a team of three flies when using wet flies, so a 9-12ft taper really isn’t an option. Instead we should look at the 5ft slow sink poly-leader and build a level leader of 5lb from there that consists of approx 30 inches between flies (Dia 4).
Diagram 4
The idea of a slow sink leader is that often we’re pulling wet flies quite quickly, especially when fishing from a drifting boat in a heavy blow and now they have a tendency to ‘lift in the water’. Now the sinking taper allows the flies to ‘dig-in’ as it were and they stay inches below the surface even on the fastest of retrieves.
Lure Fishing:
Many seasoned rods prefer to fish lures on a floating line, particularly when fishing from the bank. This gives them much more control concerning the sinking rate of their lure, especially where a shelving shoreline occurs, which would see our flies snag bottom if using a sinking line.
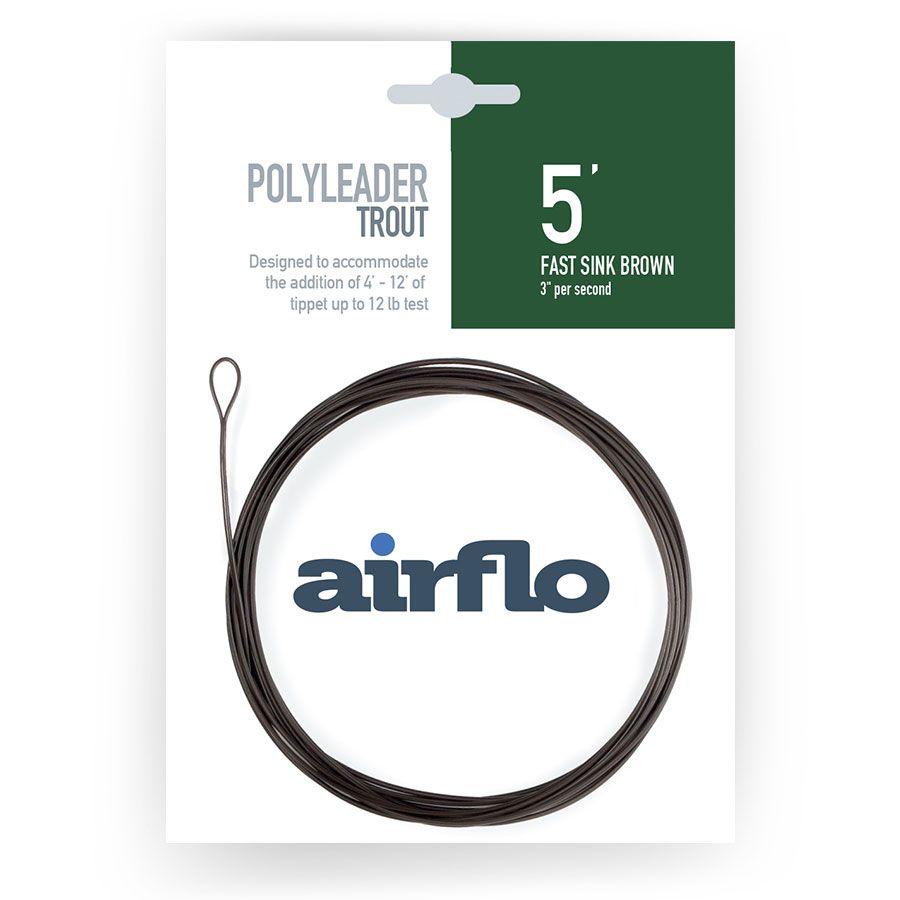
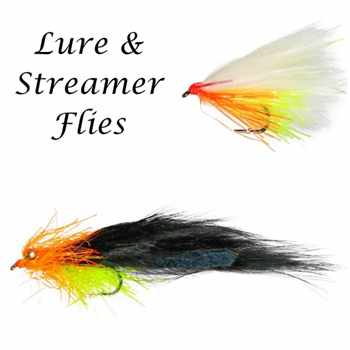
It’s best now to attach one of the faster sinking density poly-leaders like the fast sink version being a favourite of mine as it’s extremely versatile. If you’re fishing of a dam wall them opt for the extra super fast sinking version of 10ft long. This couple with 3 ft of fluorocarbon and a weighted lure will get the fly surprisingly deep.
