


Upstream Nymphing - Improve Your Technique!
What Is Upstream Nymphing?
Simply put, Upstream Nymphing is casting against the current, so that your fly drifts back towards you, in to the waiting mouths of your esteemed quarry.
Why?
There are a few reasons, to be honest:
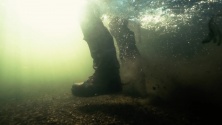
- Approaching from downstream, with the current taking some of the noise (or vibration) and sediment that you kick up, away from the fish will provide you with a stealthier approach.
- A trout has a rear facing blind spot of about 30° - not much, though it’s certainly worth knowing about. Given that stealth is one of the first things that anglers are encouraged to give consideration too, the benefits of this are fairly obvious; the lower your chances of being detected, the higher your chances of a catch.
- You’ll be closer to matching the hatch, as those fish that respond to nymphs are less likely to respond to dries which may otherwise be outside of their feed depth.
- Bragging rights! To perform this technique most effectively, you’ll utilise the exact same stealth, presentation and casting accuracy skills that you’ve developed in other approaches, though will need to refine them further by enhancing your ability to locate your target with little visual queue from surface feeding trout. You'll also improve your under-water presentation (which you won’t be able to see after it connects with the water surface) along with take detection; you’ll need to feel the take, instead of relying on your fly visually disappearing beneath the surface, and will need to see the difference between your rod tip moving due to environmental / angler factors, and that of a take. There’s plenty to learn, and I think it’s only more than reasonable to associate this technique with highly skilled anglers.

"Be vewy quiet... we're goin' fishin'!" - Elmer Fudd on a recent Fishing Trip
In order to best understand where you’ll find fish, you need to understand how the stream or river is – for want of a better word – structured.
The size of fish that you can expect to encounter can come right down to the types of rock on the riverbed. Chalk, sandstone and limestone (being relatively soft as far as rock goes) is easily dissolved by the water running over it. This process sees the water absorb minerals, essentially fertilising it, which latterly encourages abundant growth of weeds.
Granite, being harder, is less easily broken down, gives off fewer minerals, and as such encourages less weed growth. The less weed there is, the less habitat there is for a fish’s natural food source.
As such, you’ll usually find larger fish where the rocks are softer and foliage is in abundance and smaller fish where the opposite is true.
Knowing this will help you to select the tackle you’ll need, though we should focus more on identifying potential hides for the nymphing upstream technique.
Fish are predators, and sure, they’ll often go looking for food themselves, though they equally have the same wait-for-a-delivery-to-arrive mentality 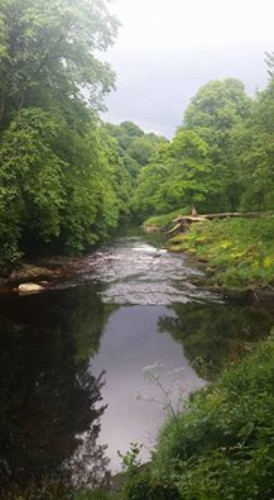 that we do. For that reason, they’ll often lie in wait between weed beds, behind rocks or sufficiently raised silt walls, facing in to the current.
These features present them with somewhere to hide if a predator comes by, along with respite from the current if it gets too strong. Chiefly though, they’re in position to wait for the current to bring their food to them, a great energy saving tactic that will ensure that have plenty of fight in them for when you use this to your advantage.
Keep an eye out for anywhere in which larger land animals, or other people, could disturb the embankment – whilst it may seem an unwelcome disturbance at first, what they’re actually doing is dislodging the local food source. Use this knowledge to watch for signs of natural takes from that point and onward down stream, which will help to give you a zone to carefully approach and cast to.
Consider as well that you won’t see anything – the water could look completely deserted. Take your time though, watch the reeds, you might see the gentle swish of a tail out of sync with the movement of the foliage – a sign of a careful predator that’s waiting for its next meal to drift on by.
A little give, and a lot of take... that sinking feeling
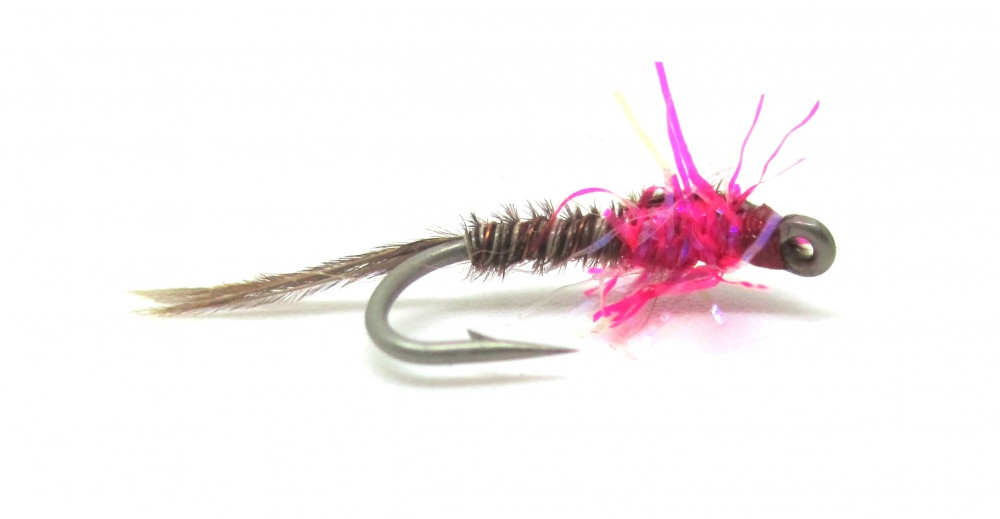
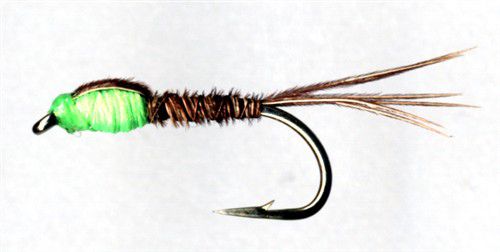
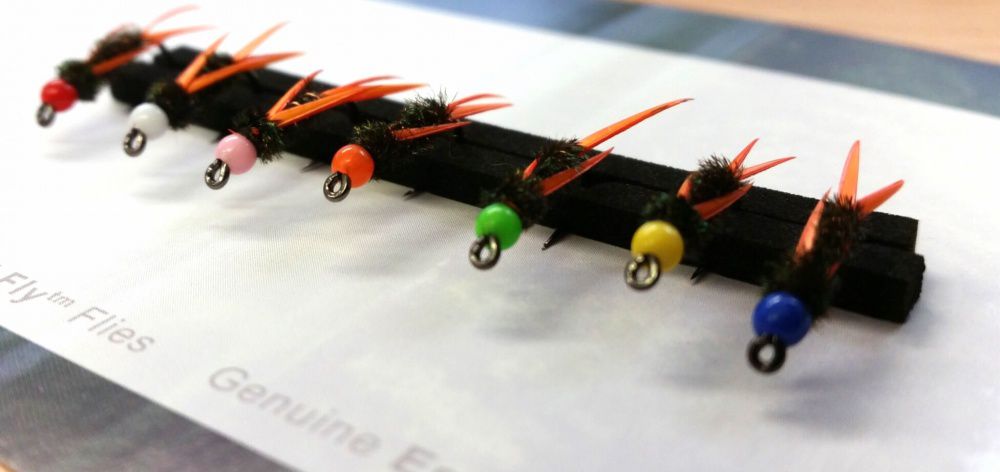
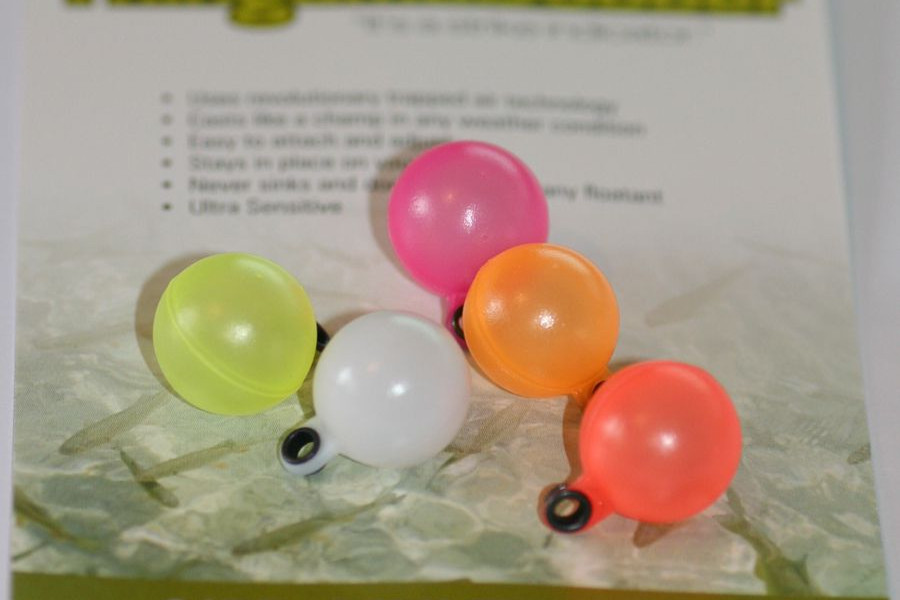
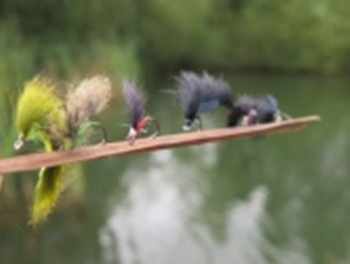
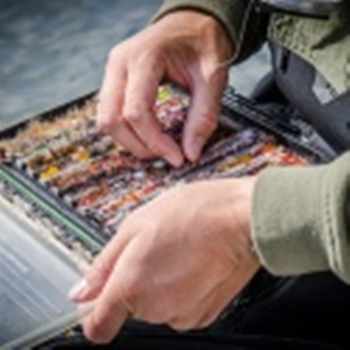
Spotted your fish? Excellent! What are you going to tempt it with? Commonly useful patterns include pheasant tails, grey goose, olives, stonefly nymphs and killer bugs.
You need to be aware that nymphing is different to dry fly fishing. With the latter, you only have 2 motions to be mindful of; your forward motion from your cast, and the downward motion in preparation for landing on the surface of the water.
With nymphing however, you have 2 more points to consider; the plunge, and the swim. The plunge, in which your fly will continue to sink following surface penetration is the point that you will emerge in to a feed zone, so selecting the right size of fly is tantamount to success.
Too heavy and you’ll sink too fast, possibly getting stuck on the bottom. Too light, and you won’t get close enough, skimming the surface of the zone before swimming back to the point of buoyancy.
Before you read further, remember that these are guidelines with many variables to consider, such as the pace of the water at the point of entry, the exact weight of the fly, the casting trajectory, so the following estimates are exactly that – estimates.
It’s a fair approximation to say that a size 12 or 14 nymph, such as a pheasant tail, will sink approximately 1 foot for every 5 foot that it drifts back towards you. A wire-weighted bug on a size 14 hook could sink about 1.5 foot over the same 5 foot return drift.
As you can’t approach with a ruler to measure what depth Monsieur Trout is holding at, you’ll be relying on guess work to get in to the feeding zone. At the start of this email, I mentioned that you could appear psychic to those of less experience - here's how. Start out by casting 2 or 3 feet ahead of him, on a diagonal approach (ie, not right on his nose, which has it's own small blind spot – his eyes are on the side of his head remember), and lift your rod slightly as you drift in on approach. This provides you with a short drift in which your fly will sink in to the upper reaches of the feeding zone.
If that doesn’t work, having allowed sufficient time for your fly to get far behind him so as not to spook him on the retrieve, cast out again, though a little further than your most recent cast – this will allow the fly to sink a little lower in to his feeding zone. The further out you cast, the deeper you'll be able to get to by the time that your nymph is presented.
Just remember to be patient. There’s a chance that he’ll follow your fly downstream, having only moments ago shown absolutely no interest in it. If he’s not taking it at all, stay in position, cast to a different river location to rest your most recent target then come back to him. It could take 30 casts before he fancies what you’re offering – patience is, as ever, the key.
And so, we come to the take
You’re going to need to be fast here. A nymph can be tested and rejected in half an instant. If you can see the fish (and hopefully you can, as you’re wearing your Wiley's, right?) keep an eye on him. Watch his mouth if you can see it. If you see flashes of white, it may be that he’s preparing to strike, so you should be too. Take in your line slack; tighten immediately, as you’ll have no time to do so once the take occurs.
Fishing with 3lb or less leader? Let go of the line – your rod rings will set the hook, keeping hold of the line may provide too much resistance and could snap your leader.
You can induce a take by lifting your rod tip slightly on approach, which seems to give the impression of your fly leaving the feeding zone, and presumably inspires the need to take that fly now, whilst it’s nearby at less energy expense than chasing it later.
Thus, we have the Upstream Nymphing technique. You can use this on any water, be it clear or otherwise – just keep an eye out for those likely lies. It’ll be that bit harder without being able to watch the fish ahead of the take, just remember to strike at any “odd” leader motions that you otherwise weren’t expecting.
Dim the lights!
An important part of any fishing technique, is of course effectively locating your quarry. Why cast your flies when you haven’t found your target first? Fortunately, help is at hand to make this a little easier.
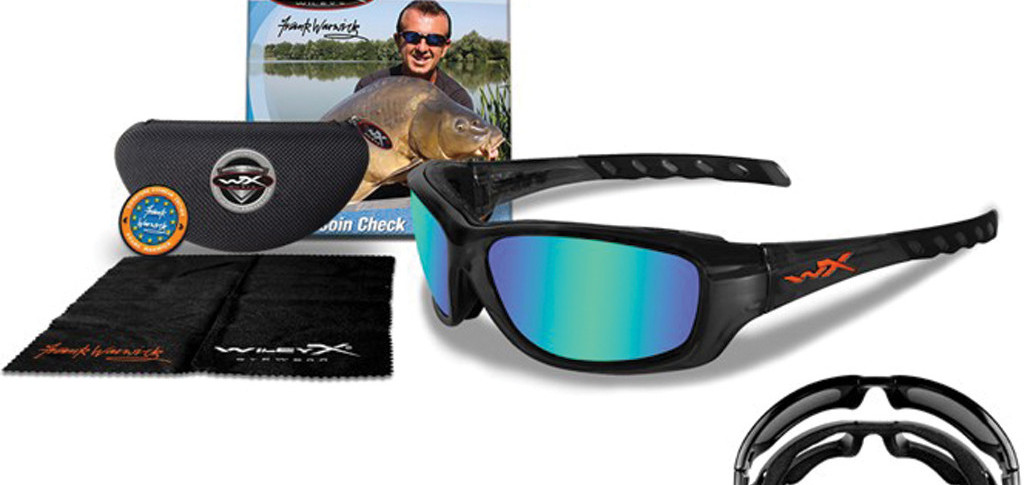
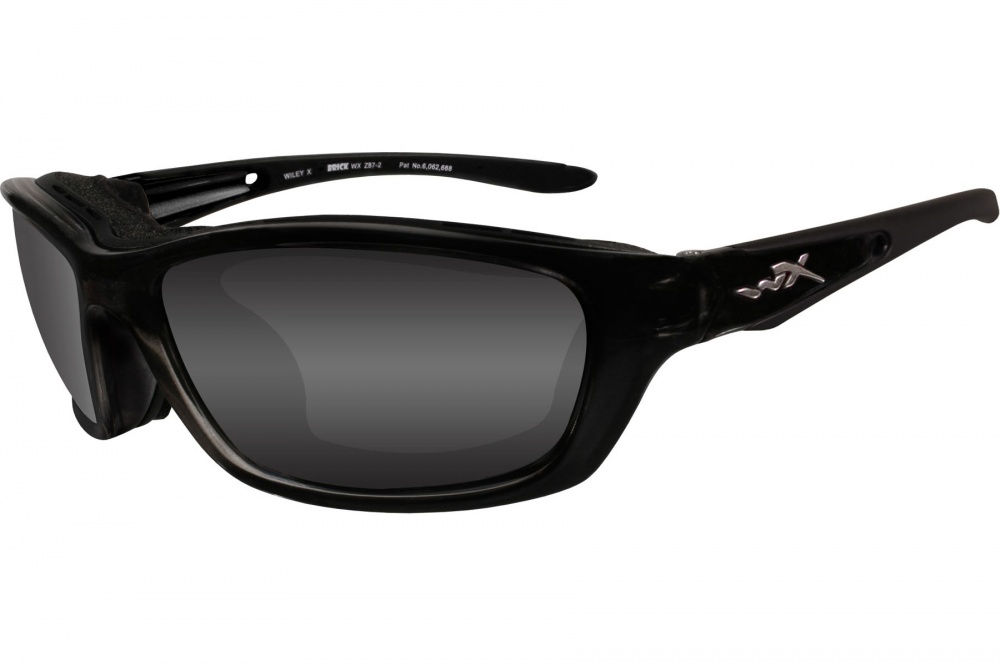
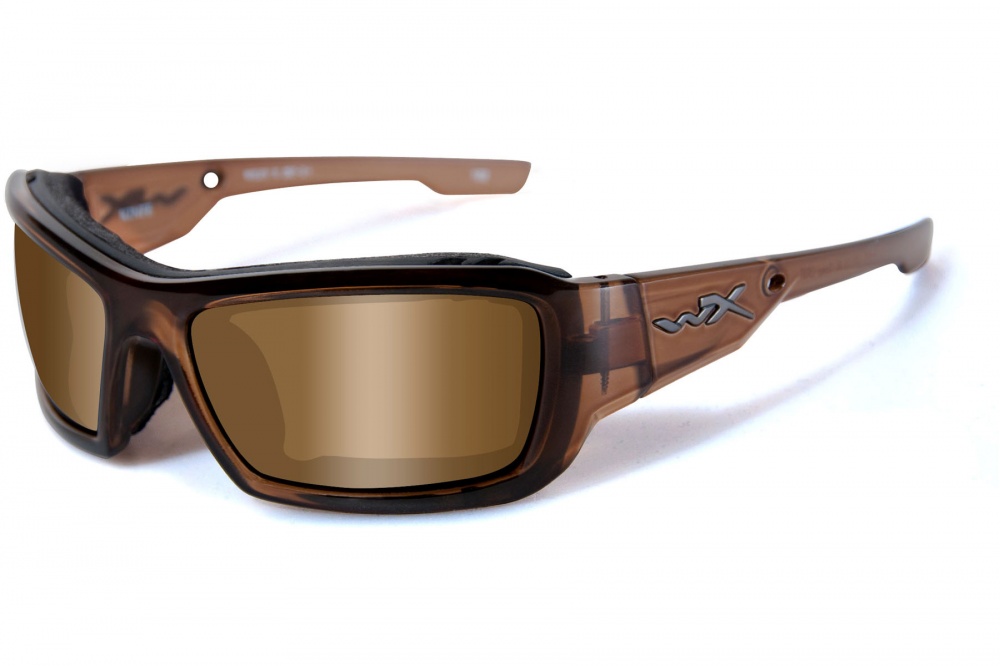
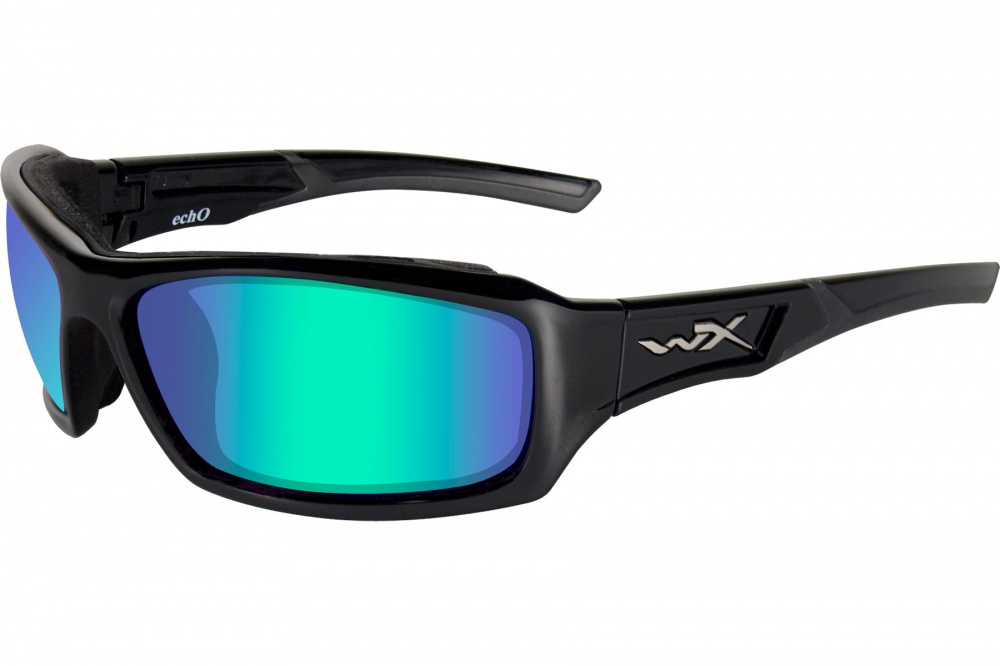
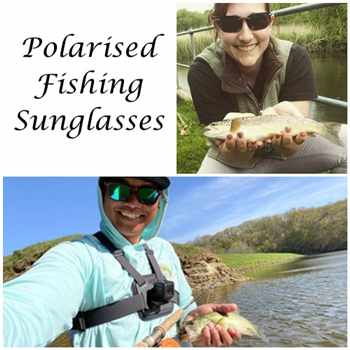
You can aid yourself here with a decent pair of sunglasses. These will help you to spot the environmental identifiers that your quarry is near, if not help you spot the fish themselves, by eliminating reflective glare and enabling you to better see sub-surface.
For those that aren’t interested in the technicalities, allow me to summarize by saying “polarized sunglasses are best”, and that I recommend having a look at the Wiley-X range which we'll discuss a little further down. For those that would like the technical reasoning, read on!
"The eye only works with light, why do I want to block it out?"
Very true, though you’re not blocking the light out, you’re filtering out the glare. Imagine a movie where the Director loves to insert lens flare from the sun in to a panoramic scene – that’s a very visual example of what you’re looking to reduce, though it also includes both harsh and subtle reflections on surface water.
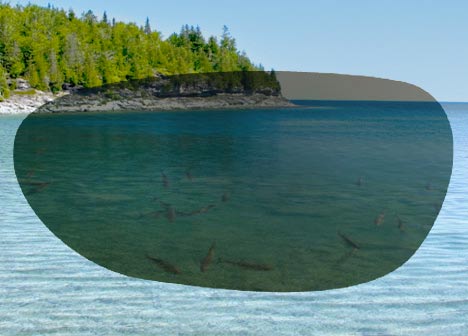 Glare occurs from light-waves, and essentially turns a reflective surface in to a mirror that hampers or prevents us from seeing past the surface film. By removing the glare, we improve our ability to see through that reflective layer to what lays beneath.
Polarized lenses will take care of that for us by removing horizontal light-waves that occur as light travels to us (from a vertical light-wave which bounces off anything and everything that it can, resulting in diagonal and horizontal light-waves as well as vertical ones).
If you can imagine looking through a picket fence with panels laid both vertically and horizontally, you should be able to get a rough idea of how much more you’d see by removing the horizontal panels. In removing these horizontals, we drastically remove the glare that would block what we’d otherwise be able to see. This essentially enables us to visually penetrate the surface film and search with less strain or challenge. For the purpose of this example, let's also assume that the vertical fence panels are transparent - I wouldn't want my analogy to fall flat on a technicality!
With this, you'll have a better chance of watching for those environmental identifiers - where the potential hides are that you should be casting upstream of, and of course, that all important take.
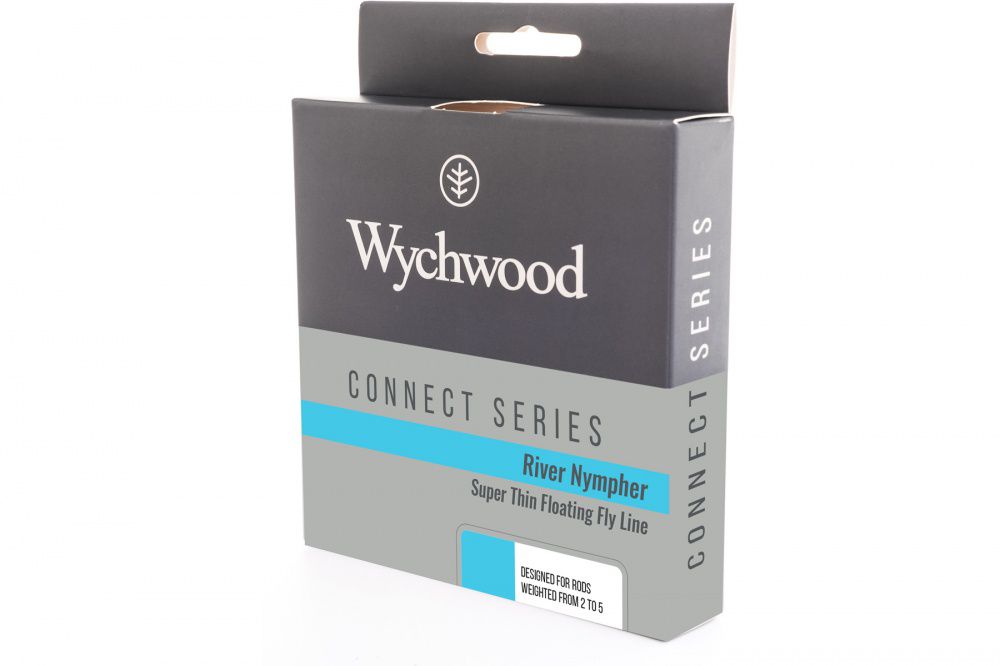
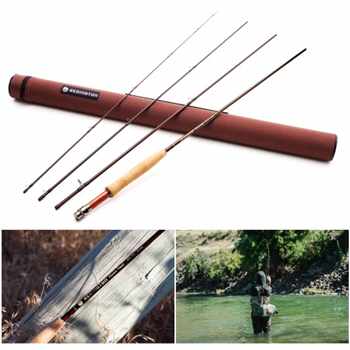
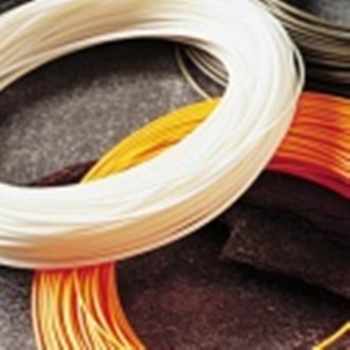
Wychwood River Nympher
This excellent mid-tier fly line is perfect for the Upstream Nympher. Capable of pairing with tackle in the #2 to #4 bands, whether you're targeted in your approach or searching for your prey, this line will provide you with casting finesse and control, the fine taper landing delicately - an important factor on a peaceful stream.
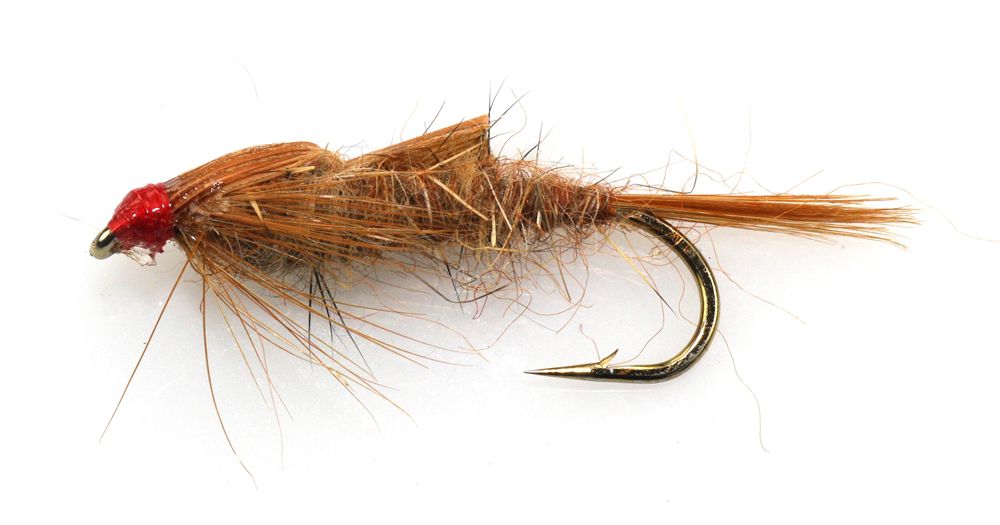
More On Nymphs
A nymph pattern can be either realistic, or suggestive. The difference being that a realistic fly is representative of a genuine fly, whereas a suggestive pattern simply has similar characteristics to other food stuffs.
By way of example, our Baetis Nymph looks much like the natural Blue Winged Olive Nymph, whereas a suggestive pattern (such as the Gold Ribbed Hares Ear, or Sawyer’s Pheasant Tail Nymph) will have characteristics of other flies without directly matching a single one.
As a comparable example, you could put roast potatoes with a vindaloo. Though a Sunday lunch it does not make, that won’t necessarily stop you from eating it! You might got some odd looks from the other diners in your local carvery, granted, though that's besides the point!
Whatever fly style you choose – realistic or imitative – either will work for the Upstream Nymphing Technique covered in this email.
Had a catch that you're particularly proud of? Why not email it in with a back story of tackle, location and technique? We'll happily share it for you, passing your expertise on to like-minded individuals.


New Zealand 1962, ten years before "nymphing " as a technique took off in NZ, an English fly fisherman Jack Young, spoke to me on the banks of the Rangitaiki river (near a township called Murupara) and advised me that if I wished to continue casting upstream I should trim everything on the flies, wets and dries, so that nothing protruded from the fly that was longer than 1/8 inch long. I tried it with some of my flies and a ten year old boy's success increased maybe threefold. I've never forgotten that and I am always mindful of the help given. Adult fishermen called me a liar when I told them how I fished after that, but about a decade later they were all hard at the upstream nymphing. What I didn't have as a child, which the doubters had as adult, was inhibition. Whereas the adult was concerned to be not seen to being doing something unconventional, a child tries it, if it works, they persist with it. Upstream nymphing was old hat in Britain, where Jack Young learned his fishing, but NZ fisherman were a very hide bound lot and it was overseas visitors that later brought and tried their home methods here, with success, that the NZ fly fishing establishment took notice. Regards Jimmy Cryderman.
PS; It may have helped me in that I too was not a native New Zealander.